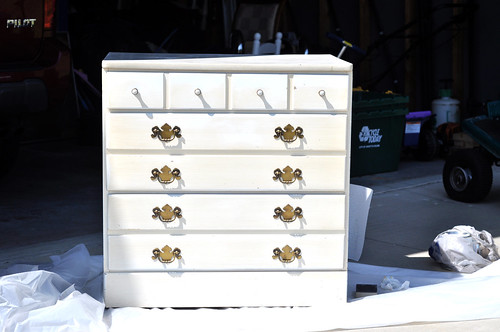
Not so hot but it has a lot of potential. This vintage dresser (yes, I said vintage...from 1982/83, I was 3...yeah, I'll be 30 next month) has great bones. It's an Ethan Allen piece made of solid wood with dovetailed drawers. This thing is solid...no Target particle board here (Target, you know I love ya!! Muah). It just needs a little love to give it new life.
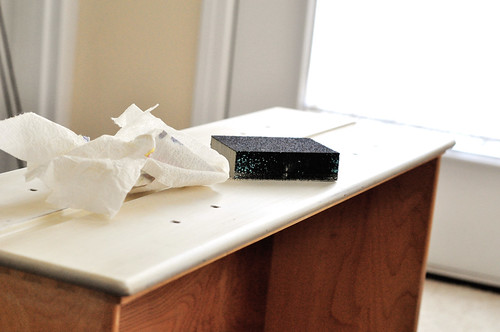
Soooo, I cleaned it and gave it a light sanding to remove any of that glossy finish and grit it up a bit. Makes the paint stick better yo! Hey, I just said "yo"...whatever, it's early, I had 5 hours of sleep, cut me some slack!
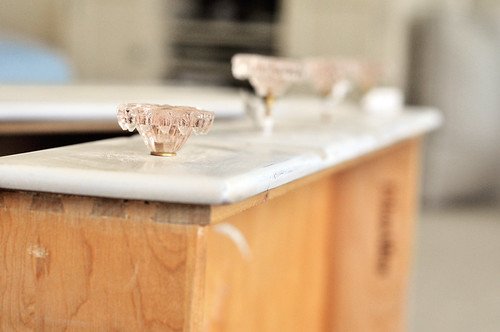
Next, I went shopping for some sweet new hardware. I found these beauties at my new FAVE place, Anthropologie!! LOVE LOVE LOVE this place! I could walk around in there for hours...but I had one preschooler and one screaming baby/toddler with me so I didn't...but, I'm going back again soon, very soon. I quickly discovered that I would not be able to find replacement hardware for the lower drawers b/c the holes on my "vintage" dresser are old school at 2.5" apart. Current hardware is made to fit holes 3" apart. No biggie, nothing a little paint can't fix!

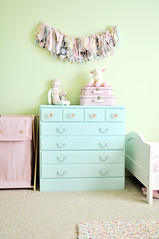
Speaking of paint, I decided on this gorgeous aqua color! I knew I didn't want to do boring white on this project. I have a thing for painted pieces of furniture and I knew I wanted something to complimet the shades of pink and green that were already in the girls room. Their rug and their accessories in the room have touches of aqua so I wanted something that would compliment and draw those colors out. Plus, I knew my new knobs would look sooo sweet when paired with this dreamy blue!! First I primed the dresser w/ an oil-based tinted primer (via the paint gals suggestion) and let me tell you...I HATE oil-based paint. It makes such a mess and is so much harder to clean off. I did however learn something new during my painting process...silly me tried to wash the paint from my hands using water...yeah, that didn't work..duh, OIL-based? Sooo, I found that if I poured a little olive oil and salt onto my hands and rubbed them together, the paint came right off...AND...you're left with baby soft hands! Cool huh?!! The bad news was that I didn't have an extra paint brush to use for my latex top-coat so I had to waste a ton of olive-oil to clean my paintbrush...yeah, total bummer...hate to waste yummy {expensive} olive oil on a paintbrush (could use veggie oil too, just didn't have any..oh, and FYI, paint thinner is a good thing to have). Anyway, once all that oil drama was behind me I gave the dresser a topcoat using latex paint. So much easier to clean!
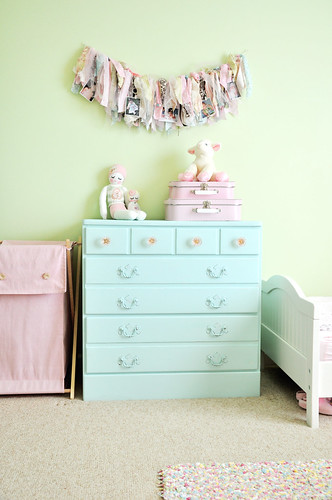
Here's the final result! Isn't it just gorgeous?! I love the blue paired with the salmon pink knobs. Perfect.
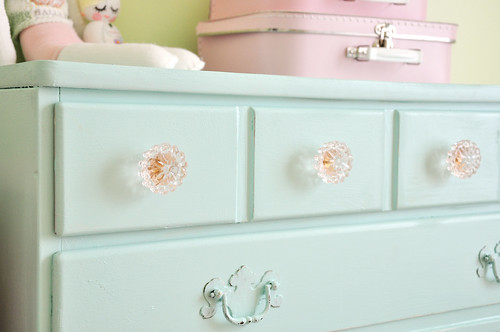
I added to the shabby chic feel by distressing the edges of the furniture a bit to reveal the wood underneath (can't see it so well in the photo but it's there)and distressing the painted brass hardware. Overall, I am loving the result! It came out just like I envisioned!
Before

After